Step 1
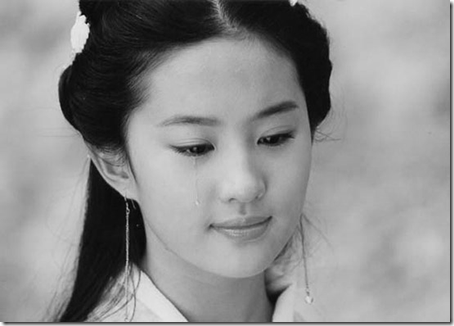
Open an image, I will use this image because it suit to my tricks.
Step 2
CTRL + J, duplicate the image. Now you will have a layer which labeled as layer 1 SHIFT + CTRL + U, desaturate the image and you will get something like this:
Step 3
CTRL + J again to duplicate layer 1 and you will get a new layer which labeled as layer 1 copy. CTRL + I to invert the layer and set the layer blend mode to Color Dodge. Go to filter > other > minimum > 1. Double click on layer 1 copy to bring out the blending option. ALT + left click on the triangle and set the underlying layer as below:
Step 4
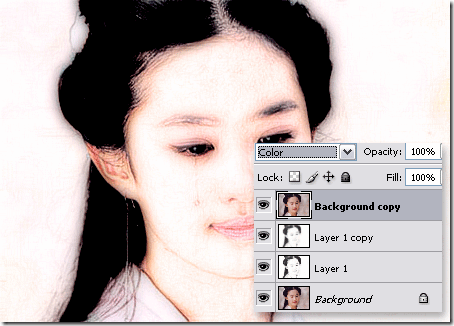
CTRL + E to merge up both layers. CTRL + J, duplicate layer 1. Select layer 1 copy and go to filter > blur > Gaussian Blur > radius 6. Set the layer blend mode to linear burn. CTRL + J on layer background and put the layer background copy at the top of all layer and set the layer blend mode to color.
Step 5
Hope you are still with me. Select layer background copy and add a layer mask, fill it with black color.

Step 6
Still with the layer background copy, go to image > adjustment > curve and set as below.
Step 7
Create a new layer and put it top of all layer. Fill it with #ffecd1. Set layer blend option to linear burn.

Step 8
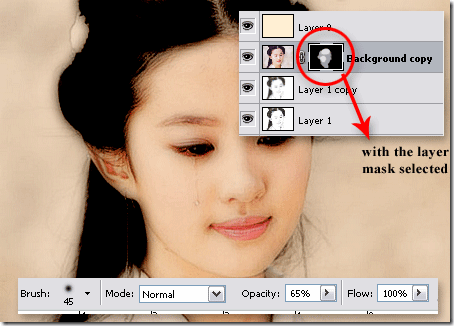
We are nearly there, now select layer 1 and set the opacity to 60% or whatever you think suitable. Select the background copy layers mask, with a 45px soft brush, opacity 65%, brush the face area. Here is it!
The difference:


EmoticonEmoticon